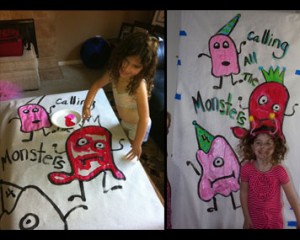
It all started with the song….”Calling all the Monsters” by China. My four year old has been in love with that song since Halloween, so when it came time for planning her birthday she said, “I want a Calling All the Monsters Birthday.” I had been imagining rainbows, but how could I resist cute girly monsters. We had a blast and the girls had fun getting things ready for the party! Here’s a sampling of the Monster Fun. I must confess that I love all the fun perfect parties I see all over pinterest and the web, but I do love when the girls can help make things too! My little one made a monster decoration out of a tissue box and the guests entered through the front door and were welcomed by this sign painted by the birthday girl!
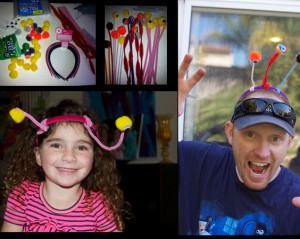
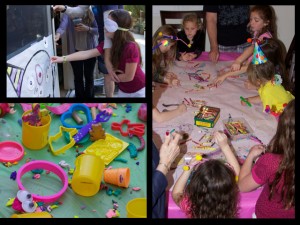
 The house was set-up with crafts and activities….first were monster headbands so each child could make their own. We hot glued the googly eyes to the pom-poms and pipe cleaners prior to the party. This was perfect for 4 year olds to wrap the pipe cleaner around the headbands! Even the adults thought it was fun.
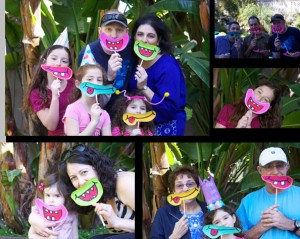
 It was photo booth fun after putting on your monster eyes! The mouths were painted on poster board, cut out and then hot glued to straws.
 The kids danced, played, and had a blast…..we made playdough monsters, colored and made some necklaces! Of course, we played “Pin the eye on the monster.”
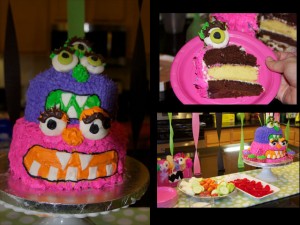
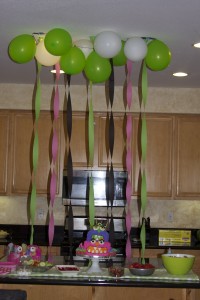
 I made the monster birthday cake! I thought it came out great! It was a two layer cake with chocolate covered mini cupcakes for the eyes. The eyelashes were made with semi-sweet chocolate which I piped on parchment and then attached with icing! The teeth were made with piped white chocolate as well.
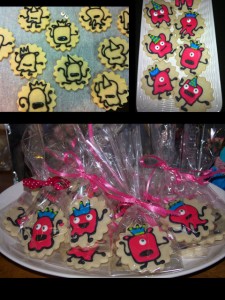
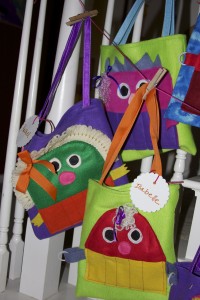
 It wouldn’t be a yenta mamas party without cookies! As a party favor I made monster tote bags and monster cookies! The cookies were made with a 3 inch scallop cutter. Then I piped the monster shape. This was really fun becuase you can’t mess up a monster! I used the Wilton pre-made eyes and piped on some party hats. The kids loved them.
 As the kids were leaving they got to take home a monster tote bag. My aunt helped me sew these (maybe the instructions will be on a future blog post)! They had a space for crayons in the monsters mouth and each one was unique. The kids were super excited to take them home and they made a cute decoration. They filled them with some bubbles and cookie:)

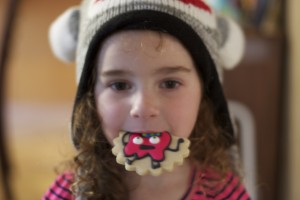
We opened presents…hence the sock monkey hat….and enjoyed the cookies!
Hope you enjoy all monster fun as much as we did! -Elaine

